


The 1st pumpkin you see here is pretty easy to decorate. I took the smallest pumpkin and a mustache from the pack I bought and place it on the center of the pumpkin leaving a bit of room on the top to make the eyes with black paint. Simple and cute! The next one on the right took some time because you have to paint it and I used chalkboard paint to cover the entire pumpkin. After waiting until it's fully dry I took some plain white chalk and wrote my message on the black chalkboard paint. The decorating kit come with a golden web topper, golden spider stickers, and rivets. Once your'e done with writing your message you can then decorate it however you please. I just scattered my decorations all around the pumpkin in random places. And for our last pumpkin, the decorating kit came with stakes, 2 garlands,bat stickers, and gems. After placing both stakes into the pumpkin you tie the garlands around them, then proceeding on finishing the pumpkin with scattered bats and gems.


There you go my darlings! I hope you liked this DIY on pumpkin decorating. I had so much fun doing this project and can't wait to place the around my house. If you enjoyed the post please share and like it! Love ya! BYE <3
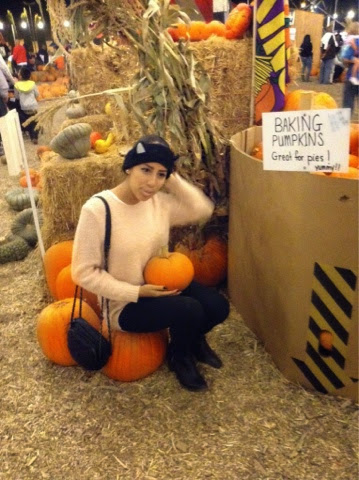
Outfit: black jeans and boats = H&M
peach colored sweater = Forever 21
fluffly kitty ears headband = Claire's
No comments:
Post a Comment